Prep
SEARING
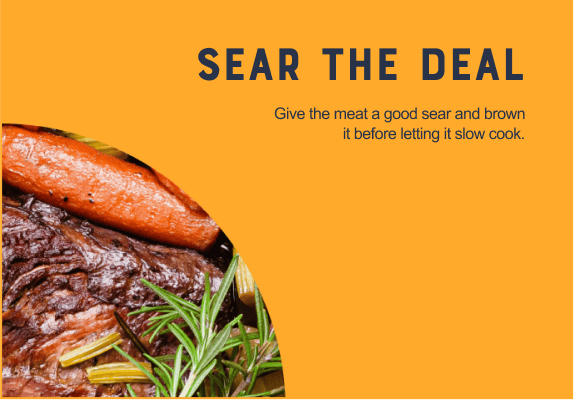
While it doesn't take long to make a good sear, the results will go a long way and speak for themselves. Searing builds a textured crust that surrounds the inner, tender delicacy within. It locks in flavor with a caramelized crust and brings a professional edge to whatever you're making. If a recipe ever says searing is an optional step – trust us – sear the meat. The difference a good sear can make is palatable.
ROAST
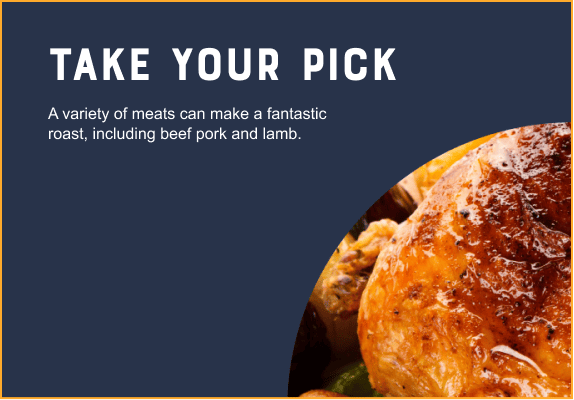
While it may not seem like one would come from the other, if you're looking to create tender, juicy flavors from the inside-out, look no further than dry heat. Well, a dry-heat cooking style known as roasting. This style of cooking really allows the protein to take center stage and uses simple ingredients to pack a flavorful punch. The best part? No matter what protein you use, you'll create a showstopping meal that will bring everyone together.
GRILL
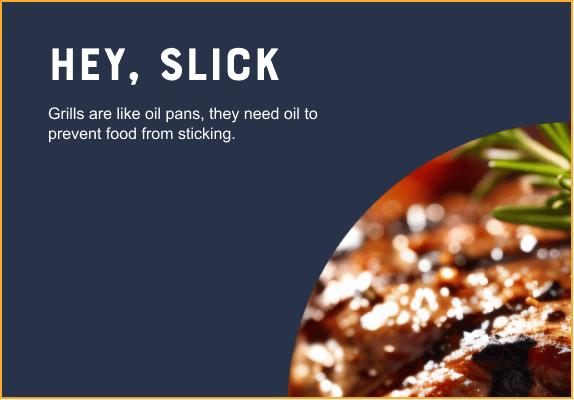
Let's face it, grilling isn't a cooking technique, it's a national pastime. In fact, it's a whole culture. And knowing your grill, having the right tools, and using quality meat can turn a simple grill out into a whole get together. A clean grill at the start of every session can yield results every backyard griller dreams of. So crack one open and fire 'em up.
SMOKING
The art of smoking is one that requires time and patience. But what you're rewarded with is a full-bodied, smoky-flavored scrumptious piece of heaven that'll have everyone gathering around. But before you run to throw your protein on the rack, be sure to flavorize it with plenty of marinades, sauces or rubs. Leave it on its back to cook through, but keep an eye on the temperature and ventilation while you sit back and crack open a cold one.
BRAISE
Braising meat is the art of fall-off-the-bone indulgence. This style of cooking is for those who like their flavor bold from letting the seasonings soak into the meat over time. Because this longer cooking method produces meat that is more tender and delectable as time goes on, it also makes it harder to overcook. Meaning it is especially helpful when cooking tougher cuts of meat like short ribs, brisket, pork shoulder (pulled pork), chuck roast (pot roast).
SOUS VIDE
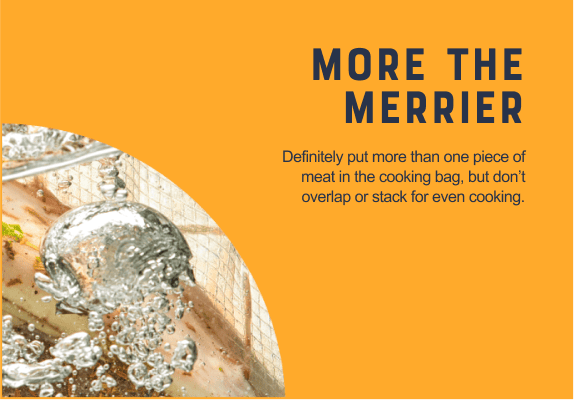
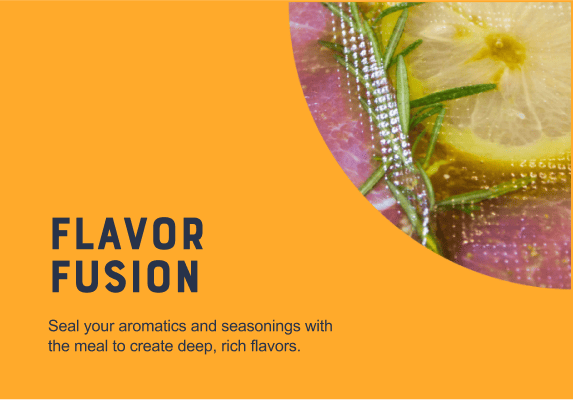
If precision is your name, then sous vide is your game. Pronounced like "Sue-Veed," this slow cooking method dials into exact temperatures, down to the half degree. Using a vacuum-sealed bag, you can and should cook multiple pieces of meat all at once and surround them with aromatics and seasonings. This allows for maximum flavor to penetrate your proteins as they cook.
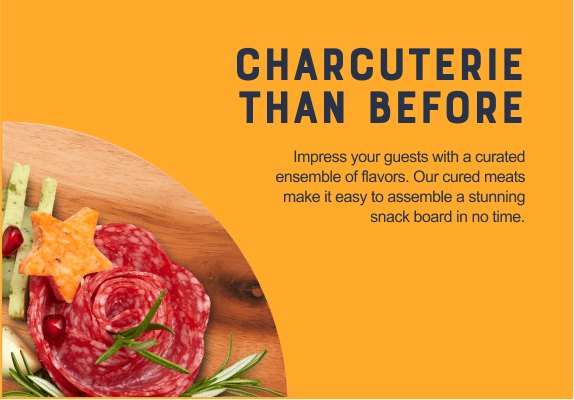
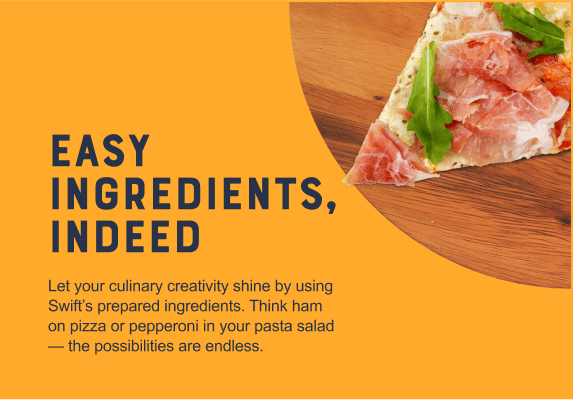
QUICK PREP
Ready to eat and ideal for those who prefer to spend their time and energy exploring new flavors and food combinations, Quick Prep requires little, if any, cooking effort. And with Swift constantly bringing new products to the table, you’ll always have fresh, innovative options that help you think—and snack—outside the box.

Cooking Process
for Searing
- Searing isn't just for steaks – it's also great for burgers, pork chops, chicken, fish and even eggplant for vegetarians.
- Using a cast-iron pan, or any pan that retains heat, is best since they can withstand high heat.
- Before searing, allow your choice cut to come to room temperature, so meat cooks evenly.
- Season your meat well to set it up for a delectable crust. Be aware, too much seasoning could cause scorching.
- For a crunchy sear, get your pan HOT! Like over 500°F. This is why having a heavy-duty pan is important.
- Once the pan is hot, lay your cut down flat. You want to hear a furious crackle as it hits your pan. That's how you know it's piping hot.
- Place a steak weight, smaller pan or metal plate on top to flatten out the meat and get all the corners down.
- Don't forget to lay the meat on its thin sides for a few seconds to connect the crust you're creating on both sides.
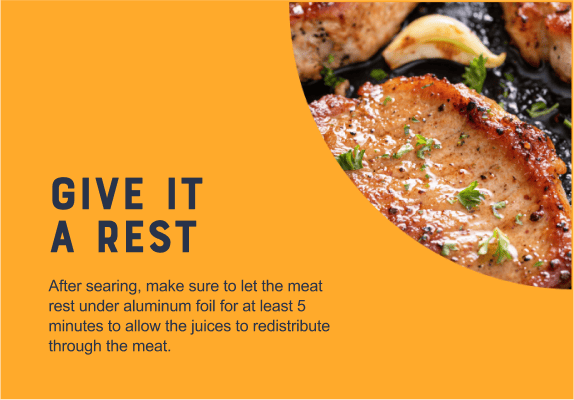
- Once cooked to your liking, remove the meat from the pan and DO NOT CUT IT. Allow it to rest for five minutes or else all the delicious juices you locked in with your sear will flood your plate.
- Once rested, plate that baby and cut through that beautiful, caramelized crust for a juicy, flavorful meal.
Cooking Process
for Roasting
- Take your meat out of the fridge at least 2 hours prior to cooking to help control doneness and cook evenly.
- Preheat your oven for at least 20 min. so that your meat starts cooking at the proper temperature from the beginning.
- Place meat into a wide roasting pan or baking tray so it has room for circulation.
- Using a rack inside your pan helps, create flow and helps the meat cook thoroughly and evenly.
- Tying up your roast helps make the meat the same thickness throughout so it cooks evenly. You can always ask your butcher for help and some meats come pre-tied for your convenience.
- Cover the meat in oil or butter to help the salt and pepper stick to it as it is dry-cooked.
- Place the tied roast into the oven and let that baby marinate in the heat. Some recipes call for low and slow, while others cook high and fast.
- Remember, every time you open the oven, you lose 50ºF. So don't peek!
- When the timer goes off, test the meat's internal temperature to make sure it has reached the desired doneness. Be sure to test the meatiest part of the roast. Bones will affect the accuracy of the temperature reading.
- Let that roasted bad boy rest for about 10-15 minutes before you dig in and devour.

Cooking Process
for Grilling
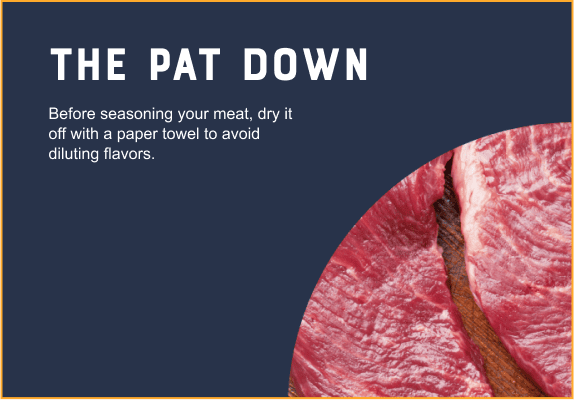
- Pat your cuts dry with a paper towel or lint-free kitchen towel. Moisture can hold back the perfect caramelized sear.
- Salt and pepper your meats so the salt can bring the moisture to the surface of your cut.
- Slap it on the grill and leave it to sit in the flames a few minutes to get those beautiful grill marks.
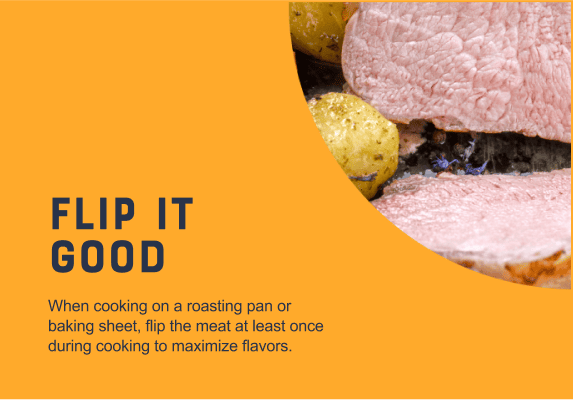
- Once the browning, or "fond," is formed, flip it over to cook it through evenly.
- After the meat is cooked through, let it rest. A cooled exterior helps retain the juices and flavors on the inside.
- You've let it rest for 5-10 minutes – 20 minutes for the thicket, cuts – and now it's time to eat!
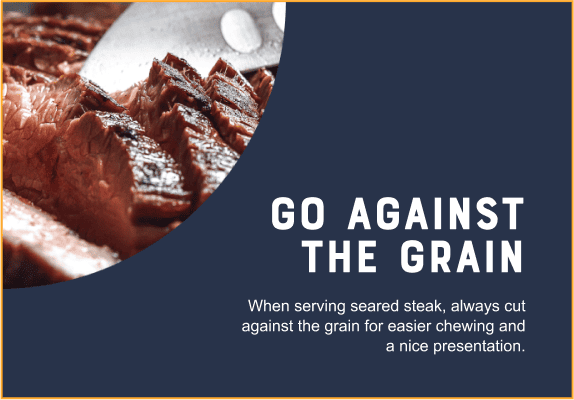
- Slice against the grain and admire your grilled-to-perfection handiwork.

Cooking Process
for Smoking
- Choose your meat-smoking timeline – a few hours, an afternoon or an all-day affair.
- Use the right wood. Wood pellets and pellet smokers are easy to use and great for beginners. Wood chips bring the flavor. And wood chunks really bring the flavor and the whole neighborhood. Also note, soaked wood lasts longer, but drier wood creates a sharper smoke flavor.
- Use indirect heat to cook, averaging between 200-250F to produce a juicy piece of meat.
- When it comes to flavor, use plenty of marinades, sauces or rubs – oh my!
- Place your protein on the rack and leave it be. Keep an eye on the temperature, but there's no need to flip the meat.
- The right ventilation makes all the difference. You want enough to keep the wood burning, but not so much where you lose smoke and flavor.
- A Bluetooth or infrared thermometer will help ensure you cook your meat to the perfect internal temperature.
- Remember when we said leave the meat alone? We mean it. Checking the meat obsessively will result in a major flavor loss.
- A good sign of a well-smoked meat? The infamous "smoke ring."
- Enjoy the deliciously burnt-ended, crusted fruits of your labor.

Cooking Process
for Braising
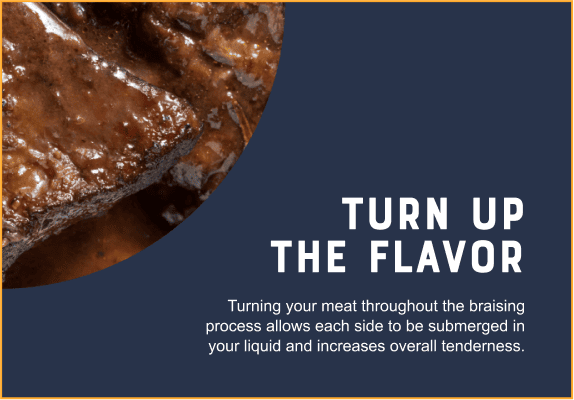
- Sear your meat on all sides to seal in moisture and flavor with a carmelized and textured crust.
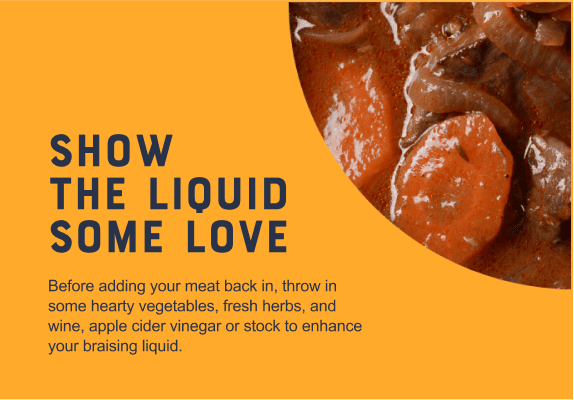
- Remove meat from your searing pan and add in aromatics such as garlic, onion, and herbs or spices to build flavor.
- Brazen aromatics intensify the flavor of your meat and your braising liquid.
- Deglaze your pan with your braising liquid, scraping up any brown bits, or "fond," from the bottom of the pan. Brown bits = big flavor.
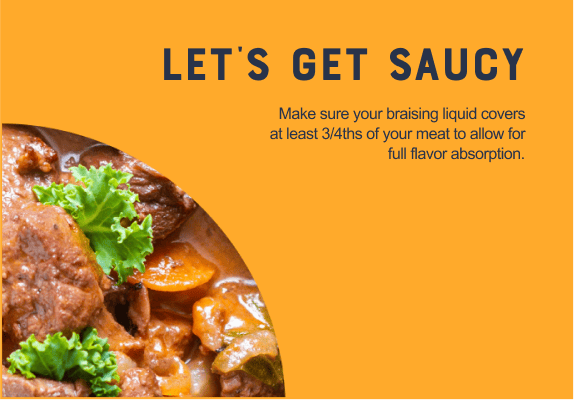
- Bring your braising liquid to a boil, add your meat back in, and cover to cook to perfection.
- Some use the stove and others use an oven, but everyone gets the tenderness they sought to achieve.
- Depending on your type of meat, braising can range from 45 minutes to 8 hours.
- Remember, tending to your liquid levels periodically will promise you a worthwhile result.
- Using two forks or a low-speed hand mixer, shred your meat to release the savory goodness.
- Enjoy the flavors of your labor.

Cooking Process
for Sous Vide
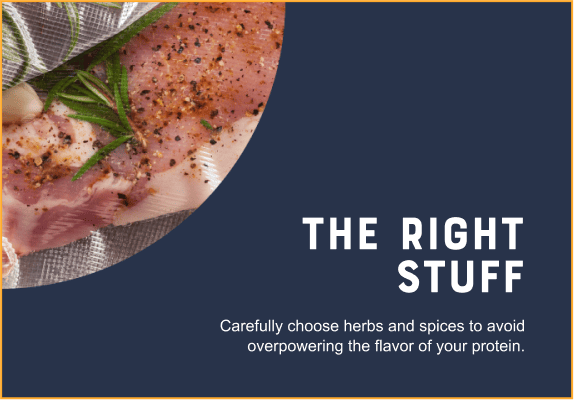
- Season your protein of choice for your sous vide, and season it well with a generous amount of salt, favorite herbs, spices or pastes.
- Secure your protein with your aromatics into a food-grade vacuum sealing bag.
- Seal the deal with your vacuum sealer to lock in all that delicious seasoning.
- Set your water's temperature and start the timer to begin cooking your soon-to-be-stunning meal.
- Once the water has reached the desired temperature, drop in your sealed bags and let the sous vide machine work its magic.
- When your meat reaches the temperature you set, take it out to rest and soak up any last bit of seasoning. About 15-20 minutes.
- Some meats are delicious as is, while others benefit from a little searing to lock in robust flavors. Be sure to dry your meat thoroughly before searing.
- Sear your creation in a searing-hot pan on all sides to create that *chef's kiss* seasoned crust on the outside.
- Searing should be a quick process (1-2 minutes) as your protein is already cooked from the sous vide.
- Relish in your delectable efforts.


Cooking Process
for Quick Prep
- Pull your meat out of the package and enjoy!
Find Swift Products Near You


©2025 JBS All Rights Reserved.